Me and my fabulous son, Max

Me and my  fabulous son, Max
Powerscourt, Ireland

Sunday, April 5, 2015

Candied Jalapenos--Also Known As Cowboy Candy

Cowboy Candy--Candied Jalapenos--YUM!


One of the easiest and most delicious things that I've canned is Cowboy Candy, also known as Candied Jalapenos.  I grow lots of peppers, so I've adapted a recipe shared in my Grow LA Victory Garden class by my fabulous neighbor and Master Food Preserver, Nancee Siebert.  She initially got the recipe from the website SB Canning.


I started by washing and drying 2 pounds of jalapeno peppers.  You can add red or yellow for color but all I had was green.


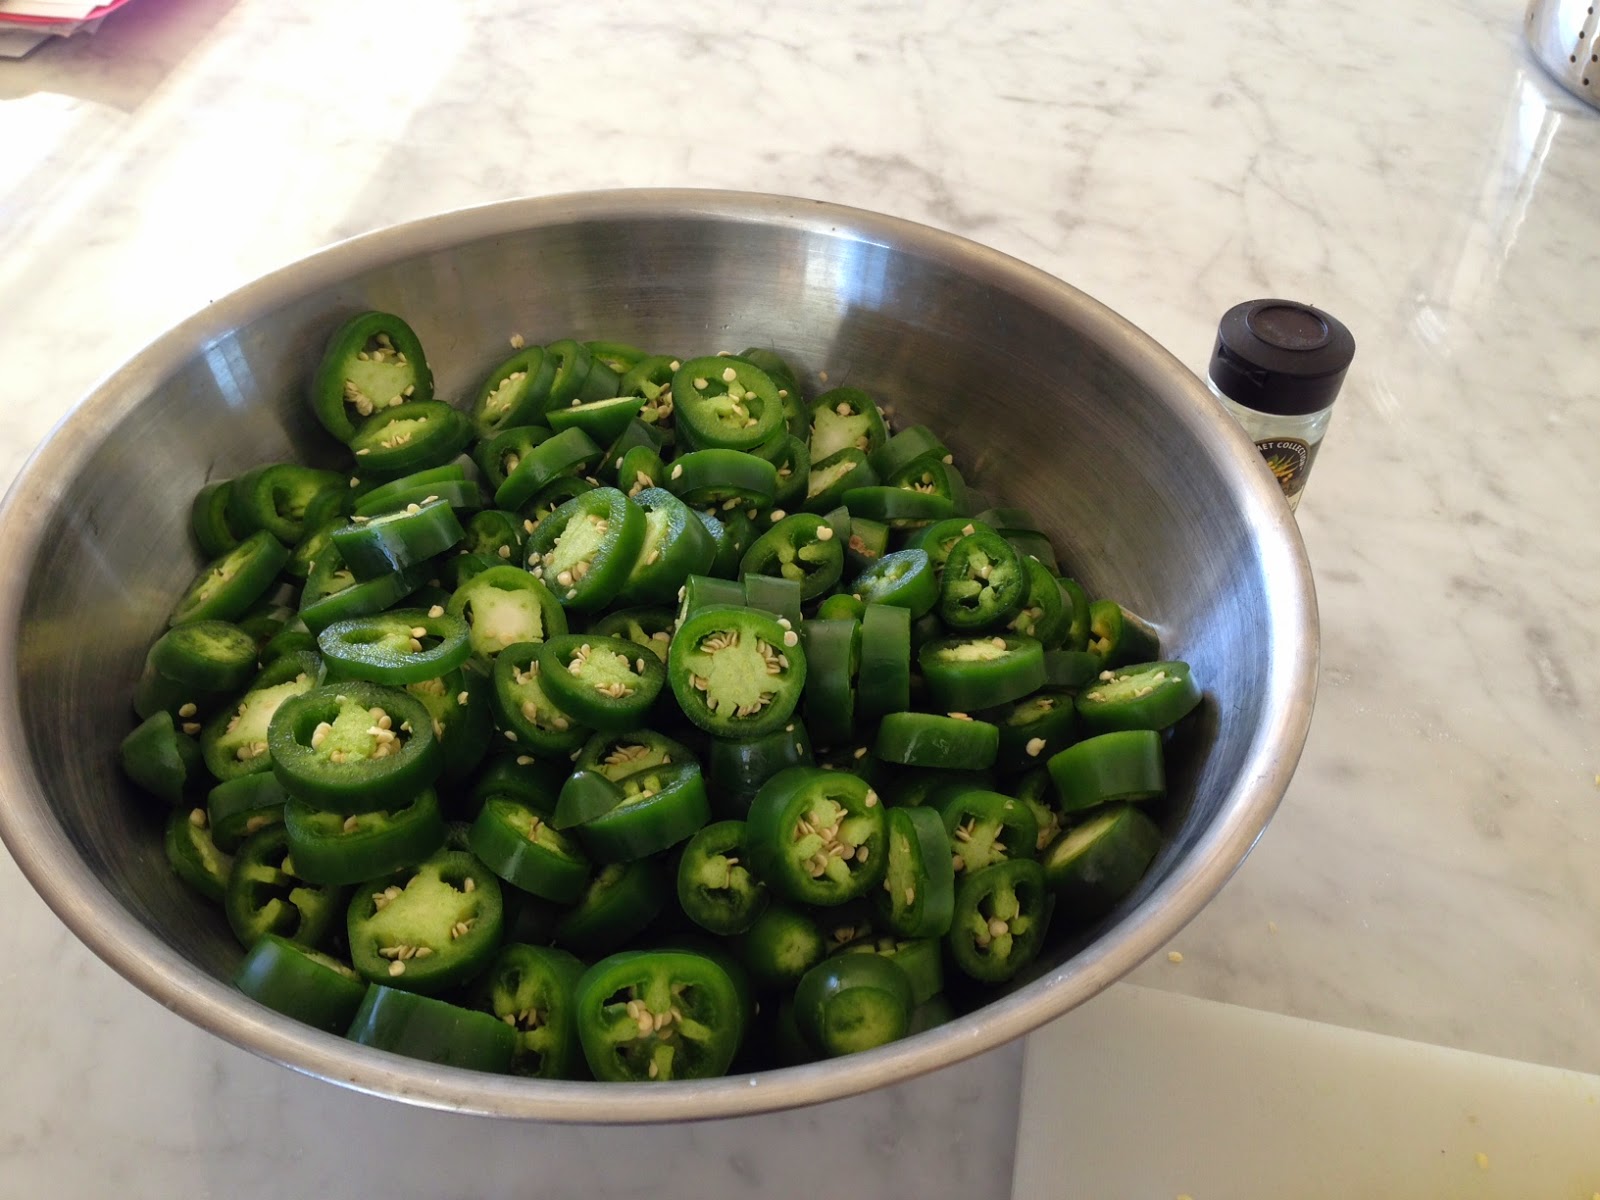
Next, I sliced all the peppers in 2" pieces.  The larger the chunks of pepper, the better they look in the final product.


Next I made the Pickling Liquid by combining:
1 cup Apple Cider Vinegar (can use regular vinegar or a combination)
2 cups of sugar
1 tbs mustard seed
1 tbs dry mustard
1 tsp tumeric
1 tsp celery seed
1/2 tsp cayenne pepper
1 head garlic using garlic press (can use 2 tbs garlic powder as substitute

Combine and bring to a boil, then simmer for 5 minutes.  Then add jalapenos and simmer for 5 more minutes.


Now a bit about canning.  First, always follow safe food preservation practices.  The USDA has the best and most up to date information.  Start with a clean kitchen, clear of clutter.  I like to wipe my counters down with a dilute bleach and water solution before starting.  Although the canning process is designed to kill any stray bacteria, I like to think I'm doing my best not to add any into the process.

21.5 quart--used to process, 12 quart--used to sterilize, 6 quart--used for pickling liquid

Sterilized jars, lids, funnel, jar lifter, headspace tool, dishtowels are ready to go

The tricks I've learned along the way are that you need at least 1 more large pot than you think you'll need.  You'll want a pot to make your pickling liquid, a large pot of water boiling to process your jars as well as another pot to sterilize them.  I have seen people use their dishwasher or oven to sterilize, but I stick to a pot of boiling water.

Have several clean dish towels, all of your canning implements and paper towels ready at hand.


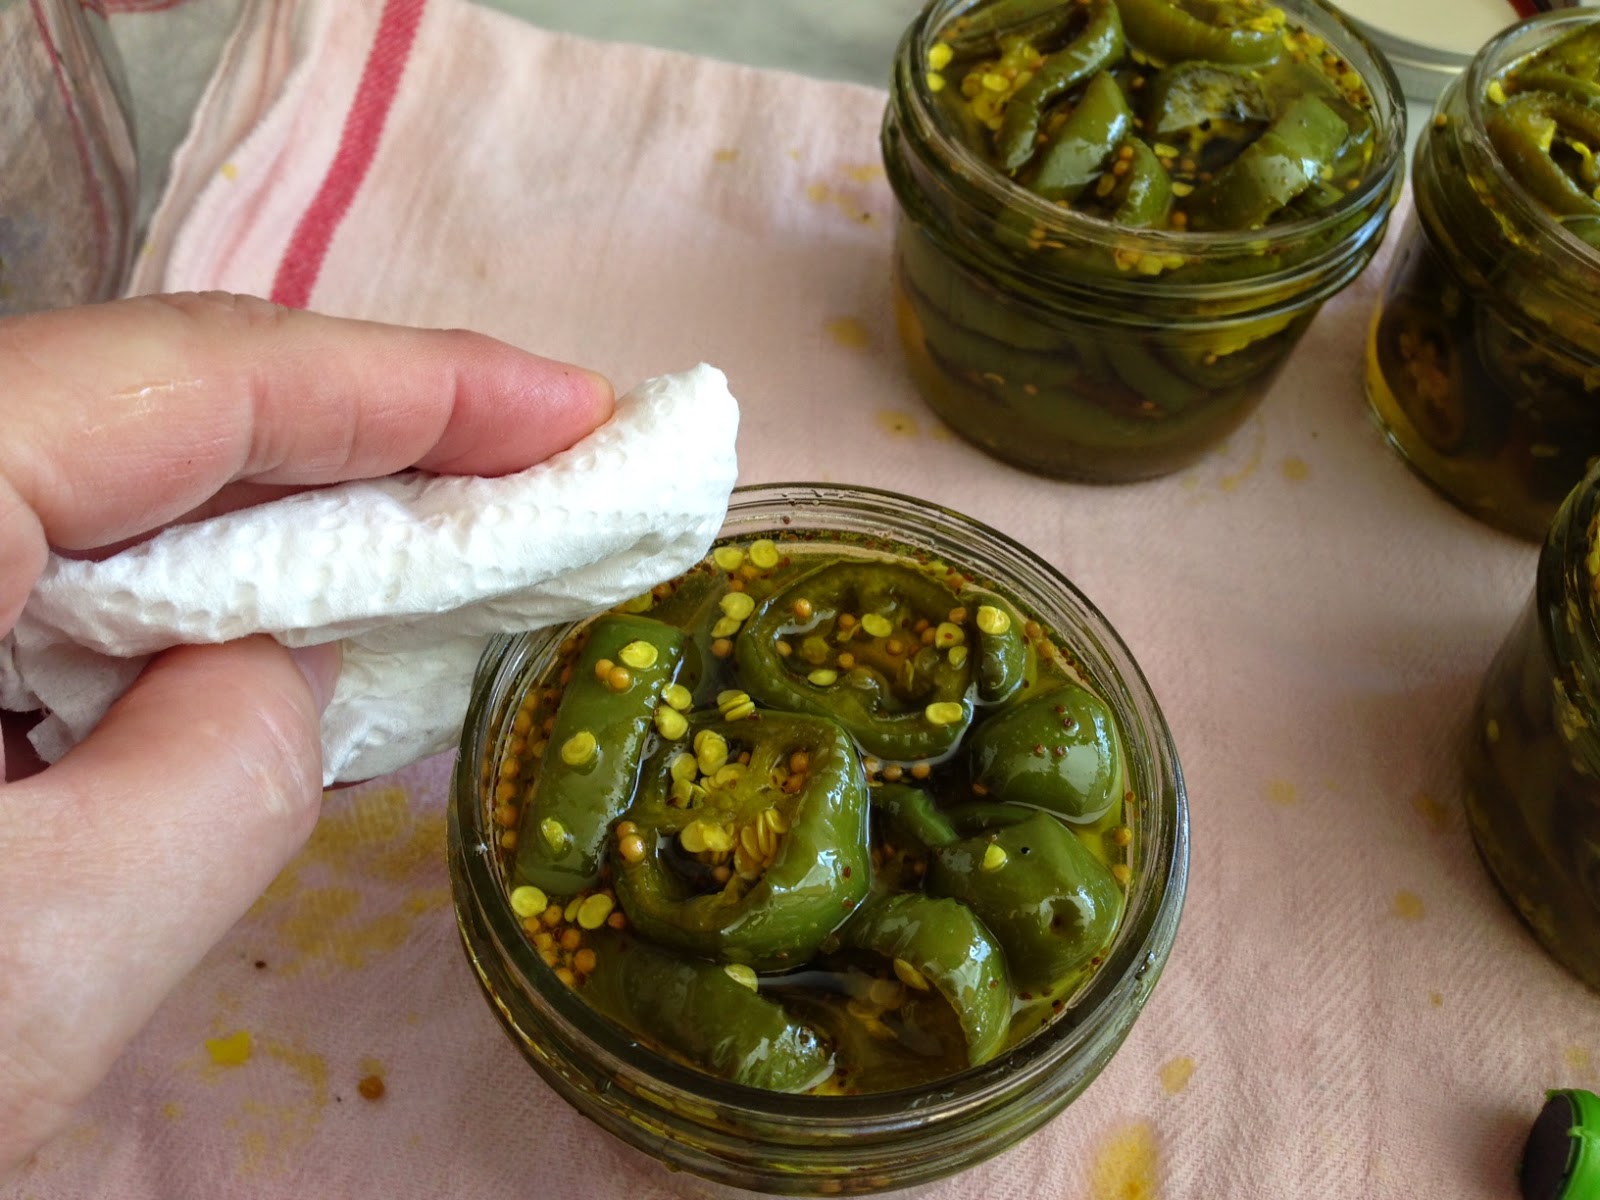
So now we are ready to process or "can" our Candied Jalapenos!  Fill your sterilized jars with peppers and liquid leaving 1/2 headspace.  Wipe the top of the jar with a damp paper towel and add lid and band tightened to secure, but not super tight.  This is referred to as "finger tight" in canning circles.


Once your jars are filled, add them to a water bath canner.  This is essentially a large pot of boiling water.  Pictured is my 21.5 quart pressure canner, but I'm using it as a bath bath canner due to it's large capacity.  Water should be 2" above the jars.  Once the water starts boiling, put the lid on and "process" (boil) for 15 minutes.

Another really helpful tip learned from Nancee is how to be patient.  After processing for 15 minutes, turn off the flame.  Wait 5 minutes and take off the lid.  Wait 5 more minutes and remove the jars from the pot and place on clean dish towels.  It is important not to disturb the jars until they are cool and have sealed.  You will hear the distinctive "pop" as the jars vacuum seal.  Nancee's method of "Wait 5 minutes between every step" ensures you are not impatient, thus ruining your hard work.


This recipe yielded 5 1/2 pints of Candied Jalapenos.  They really do get better with time.  Wait at least 4 weeks before using them.  The time mellows the flavors and it is worth the wait!!


Now the really important part....how to use them!  First, you can eat them right out of the jar.  They really are that good.  I also make a pinwheel out of a flour tortilla, cream cheese and the cowboy candy.  They are excellent with cheese and crackers.  I serve them with any Mexican Food dish.  They are great as a condiment on hamburgers or hot dogs.  I hope you enjoyed this post on fabulous candied jalapenos!

Cheers~
Marti


Sunday, February 8, 2015

Maintaining a Windbreak--Part 1

Maintaining a Windbreak--Part 1--Filling in the Gaps


Windbreak and new trees on right
We live in the West Antelope Valley, in a transition area from foothills to the Western edge of the Mojave desert.  It is windy out here...I mean really windy.  We regularly have sustained winds of over 30 mph.  Gusts up to 70 mph are not unheard of.  What this means is that an adequate wind break is a must.  A windbreak is essentially a line of trees on the side of your property where the prevailing winds come from.  In our case, it's the Western boarder of our property.

Loading the trees into the truck 
We took advantage of a dust mitigation program offered by neighboring Solar facilities, Mid America Solar and S Solar, which offered area residents 10 free trees.  We decided to use these trees to fill in the holes in our windbreak. 

Water delivery
We picked the trees up in mid December and placed them near where we plan to plant them.  Since we have not added irrigation lines or water to the back portion of our property, we have been watering the trees using 20 gallon tubs and 2 gallon buckets run from the back of the truck.  Not the easiest way to water, but it gets the job done.

Fabulous husband getting started

Figure out where your gaps are in the windbreak and decide where to place your tree.  Since the trees are super heavy, it's best to use the container to gauge your placement and the depth of the hole.

Not quite deep enough
Once the hole was deep and wide enough, we added a bit of composted horse manure to feed the tree.  Since the previous owner of our ranch raised thoroughbred Arabians, there is no shortage of this around here!  We added about a gallon of water and then placed measured using the planter to be sure.

Depth of hole equals correct depth to plant

Low tech irrigation 

We took the tree out of the container and cut the roots to loosen.  These trees had been in these pots way to long and had become root bound.  It's essential that the tree's roots be able to spread out and a tap root reach the ground water.

Making cuts to the roots to ensure growth.
Now it's time to place the tree in the hole.These weigh over 150 pounds so it took both of us.  We oriented the tree slightly into the prevailing winds and checked to make sure we were satisfied with its placement before filling the hole.

Checking depth and placement
Now it's time to refill the hole and add a support.  You can use any sturdy stick, but living on a ranch, you end up having all sorts of fence posts and rods laying around...just use what you have.

Add a support

Back fill the hole
While filling the hole, after every few feet of soil we added about a gallon of water.  This is to give them a drink as well as help our little trees be successful.  It also helps with settling and lets you know if you have any drainage issues.

Add a gallon of water several times during the fill

Finish back filling the hole

Now that the holes have been back filled, we add about 2-3 gallons of water.  We check drainage and their level to ensure the trees are where we want them.  After the trees are settled in, we will attach the tree to the support post with a piece of cloth to support our tree's growth in the wind. 

All done!

So one tree down....nine more to go!!

You might be wondering why I titled this blog post, "Part 1."  The answer to this is that maintaining a windbreak is a twofold process.  What we have been avoiding since we moved here about about a year and a half ago is cutting the dead wood from the existing windbreak trees.  This is a tough one, because even though there are large sections of some trees that are clearly dead, they still provide a break from the wind.  We don't want to remove too much.

Max with our puppies Rudy & Valentino August 2014
Like everything else in a rural setting, it's trial and error.  Living out here also forces you to do a lot of the work yourself.  It's tough to find an expert and if you can, they don't want to drive all the way out here...lol!

For more information on how to do this in your area, check your local county agricultural extension office. 

Hope you enjoyed our windbreak sage, part 1! 

Cheers for now~
Marti